A resistance band workout at home can train every major muscle group without a rack of weights. Bands are portable, affordable and easy to scale, but they still need thoughtful setup. The goal is to create steady muscular effort while keeping the band secure and the movement controlled.
This full-body band workout uses six resistance band exercises for beginners. Complete it two or three times a week, leaving at least one recovery day between sessions. Inspect your band before every workout and follow the manufacturer’s attachment instructions. A damaged band or an improvised anchor can snap and cause injury.
If you have a recent injury, severe osteoporosis, balance concerns or a condition that affects exercise, ask a qualified professional how to adapt the routine.
Choose the right type of resistance band
Bands come in several forms:
- Long loop bands are versatile for rows, presses, squats and assisted movements.
- Tube bands with handles are comfortable to grip and often include a purpose-designed door anchor.
- Mini loops work well around the thighs for hip exercises but are less suitable for pulling movements.
- Flat therapy bands allow very light resistance and flexible grip positions.
For a first program, a light and medium long band or handled tube covers most movements. The colour does not have a universal meaning; resistance varies by brand.
Choose a band that makes the last few repetitions challenging without pulling you out of position. You should usually finish with two or three controlled repetitions still possible.
Band safety before you begin
Check the full length for cuts, thinning, cracks or tacky areas. Replace a damaged band. Avoid storing it in direct sun or extreme heat.
When anchoring a band:
- use a secure, purpose-designed anchor;
- position a door anchor on the side that closes firmly against the frame;
- test the setup with gentle pressure before stepping back;
- never pull directly toward your face; and
- keep other people and pets outside the band’s path.
Do not wrap a band around a sharp, rough or unstable object. If a safe anchor is unavailable, use the no-anchor options described below.
Warm up for four minutes
Perform:
- 30 seconds of easy marching;
- 8 body-weight chair squats;
- 8 hip hinges;
- 8 gentle band pull-aparts with a very light band;
- 5 wall push-ups; and
- 3 slow breaths while reaching overhead.
The warm-up should make you feel more prepared, not tired.
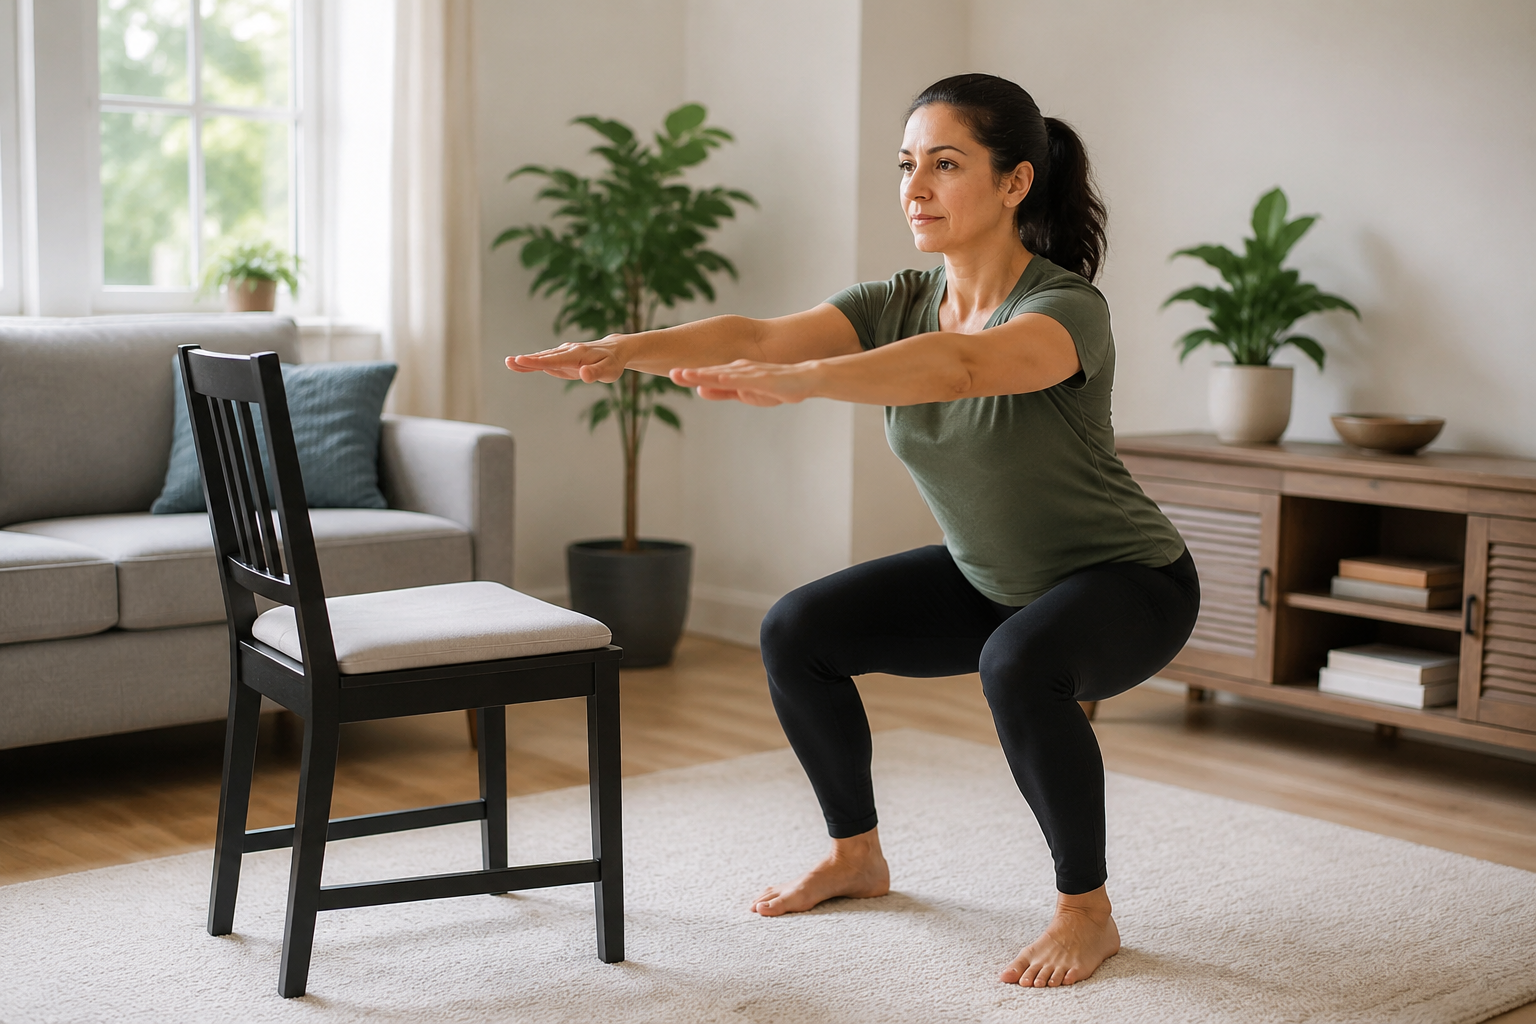
Exercise 1: Banded chair squat
Repetitions: 8–12
Stand on the middle of a long band with feet around shoulder-width. Hold the ends near your shoulders with enough slack to keep tension. Reach your hips back toward a chair, bend the knees and stand by pressing through your whole foot.
Keep the knees travelling in the same general direction as the toes. The chair provides a depth target and a safety reference; touch it lightly rather than collapsing onto it.
Easier: Perform the movement without a band.
Harder: Use a stronger band or take three seconds to lower.
Exercise 2: Banded hip hinge
Repetitions: 8–12
Stand on the band and hold the ends in front of your thighs. Soften your knees and push your hips backward while the hands travel down the legs. Stop when you feel the back of the thighs working and can keep the spine comfortably long. Drive the hips forward to stand.
Keep the band under the middle of both feet. Avoid letting it roll toward the toes or heels.
Key cue: Imagine closing a door behind you with your hips.
Exercise 3: Standing band row
Repetitions: 8–15
Secure the band at about lower-chest height using an approved anchor. Hold an end in each hand and step back until there is light tension. Pull the hands toward the sides of your ribs while keeping shoulders relaxed. Return slowly.
Avoid leaning backward to finish the repetition. If you cannot row without rocking, reduce the resistance.
No-anchor option: Sit with legs extended comfortably, loop the band around the mid-foot area of both shoes and row. Keep the band positioned securely and do not loop it around bare feet.
Exercise 4: Standing chest press
Repetitions: 8–15
Secure the band behind you at chest height with a designed anchor. Face away from it and hold the handles near the sides of your chest. Use a staggered stance. Press the hands forward until the arms are comfortably extended, then return with control.
Keep wrists straight and ribs stacked over the pelvis. Step closer to the anchor if the band pulls you backward.
No-anchor option: Use incline push-ups against a wall or stable bench. They train the same pushing pattern without placing a loose band behind your body.
Exercise 5: Split-stance band press-out
Repetitions: 8–12 each side
Anchor the band around chest height and stand sideways to it. Hold the band at your chest with both hands, then step away until you feel sideways pull. Press your hands straight in front of you, pause and return.
Keep your trunk facing forward instead of rotating toward the anchor. This anti-rotation exercise trains the torso to resist an uneven force, similar to carrying an object on one side.
Easier: Stand closer or use a lighter band.
Harder: Hold the arms extended for two or three seconds.
Exercise 6: Lateral band walk
Repetitions: 6–10 steps each direction
Place a mini band above the knees. Sit back slightly into a shallow squat. Step sideways while keeping the feet generally parallel, then follow with the other foot without letting the band snap them together.
Keep the movement small and controlled. You should feel the side of the hips working.
Easier: Place the band higher on the thighs or perform standing side leg raises while holding a support.
Harder: Use slightly more resistance, not a dramatically wider step.
The full-body band workout
Complete one or two rounds during weeks one and two. Build to two or three rounds if you recover well.
- Banded chair squat: 8–12
- Banded hip hinge: 8–12
- Standing row: 8–15
- Chest press or incline push-up: 8–15
- Press-out: 8–12 each side
- Lateral walk: 6–10 steps each direction
Rest for 45 to 90 seconds between exercises. Longer rest is fine if it lets you move well. A circuit format is optional; you can finish all sets of one exercise before moving on.
A three-day weekly plan
Beginners can use:
- Monday: Band workout
- Tuesday: Walk or other comfortable cardio
- Wednesday: Mobility or rest
- Thursday: Band workout
- Friday: Easy activity
- Saturday: Optional recreation or a third lighter band workout after several weeks
- Sunday: Rest
Two sessions are enough to make progress. Add a third only when sleep, soreness and motivation remain steady.
How to progress band exercises
Bands make exact loading harder to measure than dumbbells, so record variables you can repeat:
- band colour and brand;
- where your feet or body were positioned;
- how much band length was available;
- repetitions and sets; and
- how many good repetitions you felt remained.
When you reach the top of the range, progress one element:
- stand slightly farther from the anchor;
- shorten the working length safely;
- add one or two repetitions;
- add a set;
- slow the return; or
- move to the next band.
Small changes can produce a large resistance increase because bands become harder as they stretch.
Common resistance band mistakes
Using momentum
If the band launches you back to the start, the return phase is too fast. Take two or three seconds to control it.
Choosing too much resistance
A stronger band is not better when it shortens the movement or changes your posture. Use a band that lets the target muscles work through a comfortable range.
Ignoring the anchor
The anchor is part of the exercise. Recheck it when you change direction or height. Do not assume a closed door is automatically strong enough or correctly oriented.
Letting the band rub damaged skin
Position the band over clothing where practical and stop if it pinches, rolls painfully or irritates the skin.
Holding your breath
For general beginner training, exhale during the harder part and inhale during the easier return. Avoid prolonged straining.
When body weight or weights may be better
Bands are tools, not a complete identity. A stable incline push-up may be safer than an awkward band press. A backpack hinge may be easier to load progressively than a band hinge. Combine methods according to the movement and your setup.
The 20-minute beginner strength workout uses body weight and a backpack, while the functional fitness guide links strength to everyday tasks.
The bottom line
A resistance band workout at home can be simple and effective when the equipment is intact, the anchor is secure and the resistance matches your control. Train a squat, hinge, pull, push, brace and sideways step two times a week. Record your setup and progress one small variable at a time.
The best band is not the thickest one. It is the one that helps you complete high-quality repetitions and return for the next session.
Further reading
Continue with these guides
A note on this post: I’m Ben Shannon, the person behind Healthful Harbor. I’m not a doctor, dietitian, physiotherapist, psychologist or any other kind of clinician. I’m a regular person who reads research, tries things, and writes about what’s worked for me. Everything on this site is general educational information, not individual medical, nutrition or mental-health advice. For your own situation, please talk with a qualified professional who knows your circumstances. See the Health Information Disclaimer for the full picture.