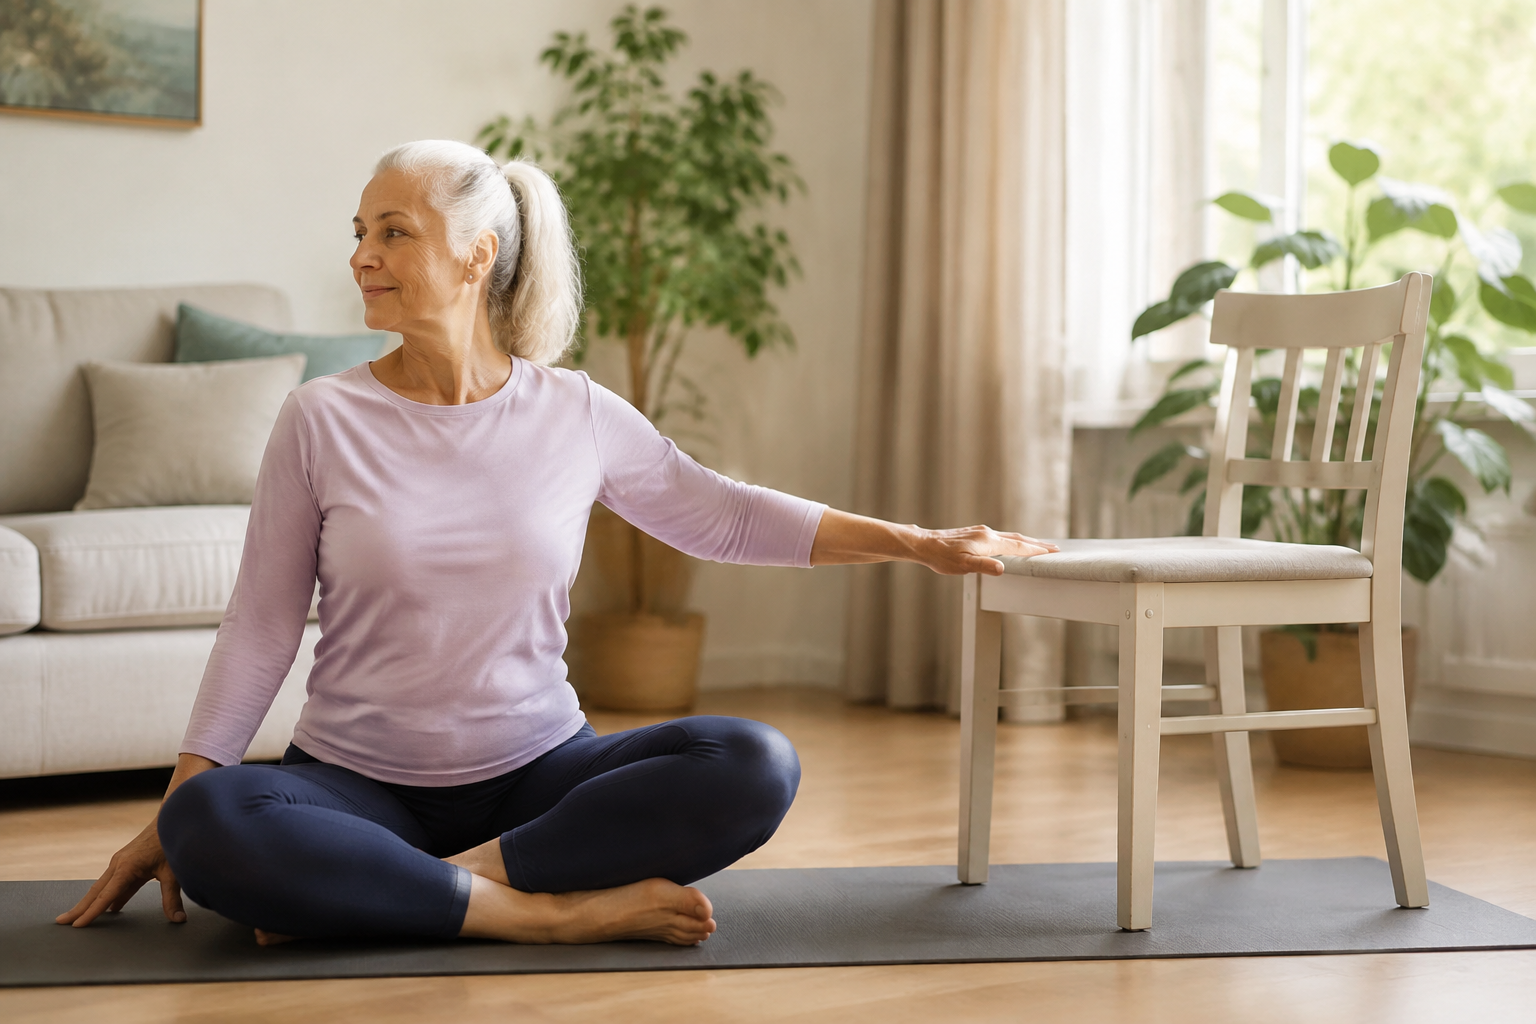
Chair yoga for seniors offers a supported way to move the spine, shoulders, hips and ankles while practising steady attention. It can be useful when getting to the floor is uncomfortable, balance is limited or a gentle practice feels more appropriate than a standing class.
Seated yoga exercises are still exercise, but they do not train every part of fitness. When safe, combine chair yoga with walking or other aerobic movement, progressive strength work and specific balance practice.
Use a sturdy chair without wheels on a non-slip surface. Sit where both feet can rest comfortably. If you have a recent injury, severe osteoporosis, uncontrolled blood pressure, new dizziness or another condition that affects exercise, ask a qualified professional which movements are appropriate.
Set up the chair safely
Choose a chair that:
- does not roll, swivel or fold unexpectedly;
- allows your feet to reach the floor or a stable footrest;
- has enough room around it for arm movement;
- is placed away from loose rugs and clutter; and
- has a backrest available for support.
Sit toward the front only when you can do so securely. Otherwise, use the backrest. Keep breathing natural and make every range smaller when needed.
1. Seated mountain pose
Sit with feet about hip-width and hands on thighs. Feel the weight through both sitting bones and feet. Let the spine lengthen without stiffening. Relax the jaw and shoulders.
Stay for three to five breaths. This is an active posture of support and attention, not a pose you must make perfectly straight.
2. Ankle pumps and circles
Keep heels down and lift the toes, then place toes down and lift heels. Repeat eight to twelve times.
Lift one foot slightly and make five small ankle circles each direction. Change sides. Hold the chair if needed.
These movements prepare the ankles for walking and standing. Stop if cramping or pain increases.
3. Seated marching
Hold the sides of the chair lightly. Lift one foot a few centimetres, lower it and switch. Continue for 20 to 40 seconds.
Keep the movement controlled rather than leaning far from side to side. Make it easier by sliding one foot forward instead of lifting.
4. Seated cat–cow
Place hands on thighs. Inhale and tip the pelvis forward slightly, allowing the chest to lift. Exhale and tip the pelvis back as the upper back rounds. Repeat six to eight times.
Keep the neck in a comfortable line. The movement can be small and does not need to follow the breath if that feels complicated.
5. Side reach
Keep the right hand on the chair. Reach the left arm upward or out to the side and lean gently right. Keep both sitting bones supported. Hold for two breaths, return and switch.
Reach lower if the shoulder is uncomfortable. Think length, not depth.
6. Seated twist
Sit tall with hands across the chest or one hand on each thigh. Rotate gently to the right through the upper body, return to centre and turn left. Repeat three to five times each side.
Avoid pulling hard on the chair back. People with osteoporosis or spinal conditions may need to limit or avoid twisting based on professional guidance.
7. Shoulder opener
Reach arms down beside the body with palms facing forward. Gently draw the shoulders back and open the arms a little wider. Return. Repeat six times.
Alternatively, hold a towel between the hands in front of you and raise it only as high as comfortable. Keep ribs relaxed rather than arching the lower back.
8. Seated knee extension
Sit securely and straighten the right knee until the leg is almost parallel with the floor or reaches a comfortable height. Pause, then lower slowly. Repeat six to ten times and change legs.
This adds a gentle strength element for the front of the thigh. Avoid locking or forcing the knee.
9. Seated figure-four hip stretch
Place the right ankle over the left shin or thigh, depending on comfort. Keep the right foot gently flexed. Stay upright or hinge forward a small amount until you feel a comfortable stretch around the hip. Hold for three breaths and switch.
Do not press the raised knee. Skip the pose if it causes knee or hip pain.
10. Supported warrior arms
Sit tall and extend arms out to the sides at shoulder height or lower. Turn the head gently toward the right hand, return to centre and look left. Repeat twice.
Keep arms lower or hands on shoulders if holding them out is tiring. This trains posture and controlled head movement without requiring a standing lunge.
11. Chair-assisted sit-to-stand
Move to a secure position with feet planted. Lean forward, press through the feet and stand, using hands on the chair arms or thighs as needed. Reach hips back and sit with control. Repeat three to eight times.
This is more strength exercise than a traditional yoga pose, but it supports everyday independence. Use a higher chair or cushions if needed.
Skip standing if it is unsafe for you today. Repeat knee extensions and marching instead.
12. Seated rest and breathing
Use the backrest and support both feet. Rest hands comfortably. Notice an ordinary inhale and exhale. If pleasant, let the exhale become slightly longer without holding the breath.
Continue for one or two minutes. Return to normal breathing if you feel dizzy, air-hungry or anxious.
A 15-minute chair yoga routine
Use this order:
- Mountain pose: one minute
- Ankle pumps and circles: two minutes
- Marching: one minute
- Cat–cow: two minutes
- Side reach: one minute
- Twist: one minute
- Shoulder opener: one minute
- Knee extension: two minutes
- Figure four: two minutes
- Seated rest: two minutes
Add sit-to-stands before the final rest when standing is safe and appropriate.
How often to practise
Begin with two or three sessions per week. A shorter five-minute sequence can be used on other days. More is not always better if the same joints become irritated.
Repeat the routine for two weeks, then progress one feature: add a repetition, hold arms slightly longer or complete one extra sit-to-stand. Do not increase every pose at once.
Chair yoga and balance
Seated movement can improve confidence and mobility, but sitting removes much of the balance challenge. If you can stand safely, add supported weight shifts, heel raises and narrow stances beside a stable bench.
Our balance exercises for seniors provide a progressive sequence. The healthy ageing weekly plan combines balance, strength, cardio and mobility.
Common questions
Is chair yoga suitable after a fall?
It may be one part of returning to movement, but the cause and consequences of a fall should be assessed. New pain, head injury, dizziness or repeated falls require professional care. A physiotherapist can identify safe starting positions.
Does it count as strength training?
Knee extensions, marching and sit-to-stands challenge muscles, but progressive full-body strength usually needs more resistance over time. Add suitable pulling, pushing, squatting and carrying exercises.
What if I cannot sit upright without support?
Use the backrest and pillows. Reduce arm movement and prioritise comfort. A therapist can adapt positioning when fatigue, pain or neurological conditions affect sitting.
Can I practise with joint replacements?
Movement restrictions vary by surgery, approach and stage of recovery. Follow the surgical and rehabilitation team’s advice rather than generic pose lists.
Should I close my eyes during breathing?
Only if it feels safe. Keeping the eyes open with a soft gaze is completely valid, especially when balance, dizziness or anxiety is a concern.
When to stop
Stop for chest symptoms, faintness, severe breathlessness, sudden weakness or sharp pain. Seek urgent care for severe or sudden warning symptoms. Persistent pain, swelling or repeated dizziness deserves assessment.
A four-week progression
- Week 1: Learn six comfortable seated poses for ten minutes.
- Week 2: Add ankle work, knee extensions and a longer final rest.
- Week 3: Add three to five supported sit-to-stands if safe.
- Week 4: Add a short walk or two supported standing balance exercises.
Keep the earlier version whenever fatigue, illness or pain changes. Progress is the ability to choose and control more movement, not an obligation to leave the chair behind.
If you attend a class, tell the instructor what support you use at home and ask whether the chair is secured. A class labelled “senior” is not automatically suitable for every health condition or balance level.
The bottom line
Chair yoga for seniors can provide supported mobility, gentle strength and a calming routine without requiring floor work. Use a stable chair, keep both feet supported and choose ranges that feel secure.
Pair seated yoga with appropriate standing balance, strength and aerobic activity so the program supports the full range of everyday movement.
Further reading
Continue with these guides
- Yoga for Beginners Guide
- Healthy Habits Guide
- Gentle Yoga for Seniors: A Safe, Flexible Home Practice
- Chair Pilates for Seniors: Gentle Strength and Mobility
- Nutrition for Cognitive Health: Food Habits for Healthy Ageing
A note on this post: I’m Ben Shannon, the person behind Healthful Harbor. I’m not a doctor, dietitian, physiotherapist, psychologist or any other kind of clinician. I’m a regular person who reads research, tries things, and writes about what’s worked for me. Everything on this site is general educational information, not individual medical, nutrition or mental-health advice. For your own situation, please talk with a qualified professional who knows your circumstances. See the Health Information Disclaimer for the full picture.