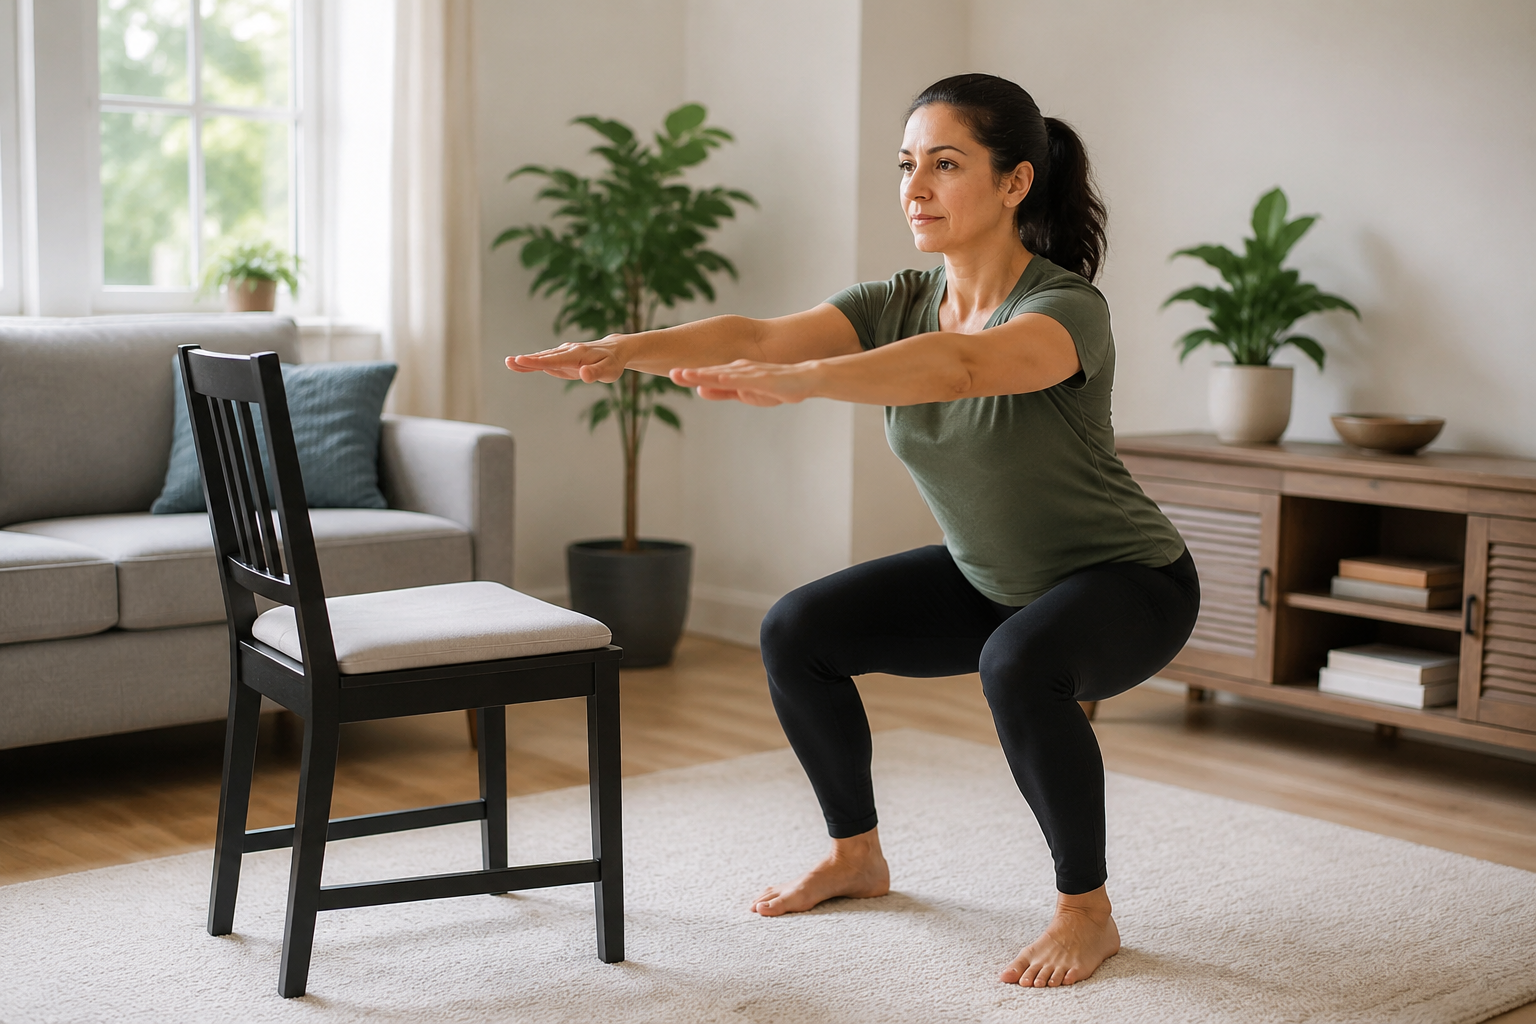
Chair squats for beginners over 50 are one of the most practical ways to build lower-body strength at home. You do not need a gym, a heavy weight, or perfect fitness to start. A stable chair gives you a clear target, shortens the movement if needed, and helps you practise the same sit-to-stand pattern you use every day.
This guide explains how to set up, how to do the movement with control, and how to make it easier or harder without rushing. The aim is not to “push through.” It is to practise a useful movement often enough that standing from a chair, getting out of the car, and climbing a few stairs can feel more confident.
Start by reading our beginner fitness guide for a simple overview of building a routine. If you are returning to exercise later in life, the healthy ageing exercise guide can help you choose a sustainable weekly pace.
Why chair squats are useful after 50
A chair squat trains your thighs, hips, and glutes while asking your trunk to stay steady. It closely resembles the everyday task of rising from a chair. That makes it a functional exercise: you are practising strength in a pattern that matters outside a workout.
The chair is not a shortcut. It is feedback. It tells you how far you have lowered, gives you a safe place to sit if you need a pause, and makes it easier to repeat the movement slowly. Many beginners find that this controlled version feels less intimidating than a free-standing squat.
Strength work also belongs alongside walking, balance practice, mobility, and recovery. You do not have to do everything at once. A few well-controlled repetitions are a sensible starting point.
Safety first: when to pause and ask for advice
Choose a firm, stable chair that will not slide or roll. A dining chair placed against a wall often works well. Avoid low, soft couches and chairs with wheels. Wear supportive footwear or use a non-slip surface.
Stop the exercise if you feel sharp or worsening joint pain, chest pain, faintness, unusual shortness of breath, or loss of balance. If you have had a recent fall, joint replacement, fracture, severe arthritis flare, or a condition that affects balance, ask your clinician or physiotherapist which variation is appropriate before starting. Mild effort in your leg muscles is expected; pain is not a goal.
How to do a chair squat with safe form
- Set up your chair. Put it against a wall. Stand in front of it with your feet about hip-width apart. Your toes can point forward or slightly outward.
- Find your stance. Let your feet feel even on the floor. Keep them far enough from the chair that you can sit back, not simply bend your knees forward.
- Reach your hips back. Imagine you are gently reaching your hips toward the chair. Keep your chest comfortably lifted and your back long.
- Lower with control. Bend your knees as you lower. Let your knees travel in the same general direction as your toes rather than falling inward.
- Touch or sit. Beginners can sit fully on the chair for a moment. As you gain confidence, lightly tap the seat and stand again.
- Stand tall. Press through your whole foot and gently squeeze your glutes as you come up. Finish tall without leaning backward.
Breathe in as you lower and breathe out as you stand. Move at a pace where you could stop at any point. That control matters more than depth.
Three easy starting options
1. Sit-to-stand with hands
Start seated near the front half of the chair. Put your hands on the armrests or thighs if needed, lean your body slightly forward from the hips, and press through your feet to stand. Sit down slowly. This is a strong first step when rising from a chair currently feels challenging.
2. Higher-chair chair squat
Use a firm cushion to make the chair higher. Stand, lower until you sit or tap the cushion, then stand again. A higher target reduces the range of motion while you learn the pattern.
3. Lightly supported chair squat
Place another sturdy chair in front of you and rest your fingertips on its back for balance. Keep the support light; try not to pull yourself up. This option can be helpful if balance is the main concern.
Common chair-squat mistakes and simple fixes
Dropping quickly into the chair: slow the lowering phase and use a cushion. The controlled way down is part of the strength work.
Knees collapsing inward: think “knees follow toes” and make your stance a little wider if that feels better.
Feet too close to the chair: shuffle them forward slightly so your hips can move back.
Holding your breath: use the simple rhythm of inhale down, exhale up.
Trying to go too low: use the chair height that lets you move without pain or wobbling. Range can grow later.
A gentle 10-minute chair-squat routine
Try this routine two non-consecutive days this week. Leave a day between sessions while your legs get used to the work.
- Warm up for two minutes: walk slowly around the room, march in place while holding a bench, or do easy ankle circles.
- First set: 5 chair squats or sit-to-stands. Rest for 45 to 60 seconds.
- Second set: 5 chair squats. Rest again.
- Balance break: hold the chair back and do 5 gentle heel raises, then 5 slow marches on each side.
- Final set: 5 chair squats only if your form still feels controlled.
- Cool down: take a relaxed one-minute walk and notice how your legs feel.
If 5 repetitions feel like plenty, that is useful information, not failure. Repeat that dose until it feels easier. If you could do several more repetitions with good form, add one or two repetitions to a set next time.
How to progress without making the workout risky
Progress one small variable at a time. First, build from 5 to 8 repetitions. Next, add a second or third set. Later, reduce the use of your hands or change from sitting fully to a light seat tap. Only after those options feel easy should you consider a slightly lower chair or light hand weights.
Aim for an effort that feels like work but leaves you steady and able to recover for tomorrow. You should not need to prove anything in one session. Consistency is more valuable than soreness.
How chair squats fit into your week
For many beginners, two short lower-body strength sessions each week is a useful starting rhythm. On other days, choose easy movement such as walking, gentle mobility, or a few fall-prevention fitness drills. If you enjoy a slower mind-body session, our gentle yoga for seniors guide offers low-pressure options for mobility and breathing.
Fuel and recovery matter too. A regular meal pattern with protein, fibre-rich foods, and enough fluids supports an active routine. See our healthy eating for beginners guide for a practical foundation.
Frequently asked questions
How many chair squats should beginners over 50 do?
Start with one or two sets of 5 controlled repetitions. Build gradually when you can finish with steady form and no increase in joint pain. There is no prize for beginning with a large number.
Are chair squats safe for sore knees?
They can be a comfortable option for some people because the chair controls depth, but they are not right for every knee problem. Keep the range small, use a higher seat, and stop if pain is sharp, worsening, or lingers. Personal advice from a clinician or physiotherapist is best for persistent pain.
Should I use my hands?
Yes, if that makes the movement safer. Using your hands can be an excellent starting variation. Gradually use less assistance only when you feel stable.
How to know your current level is right
Your starting level is right when you can keep your feet planted, lower and stand without rushing, and finish feeling that your legs worked without needing to brace for pain. It is also okay to rest between repetitions. If you are unsure, video yourself from the side or ask a trusted person to watch for a stable chair, slow lowering, and knees tracking comfortably with your feet.
Keep a simple record: chair height, repetitions, sets, and how you felt later that day. That record makes gradual progress visible even when change is subtle. It also helps you avoid increasing several things at once. A routine that feels almost too easy at first is often the one you can still do next week.
Next step
Put a stable chair in a clear space and practise one set of 5 today. Keep a note of how it felt, then repeat in a day or two. Small, controlled practice is how chair squats become a reliable part of everyday strength.
Leave a Reply