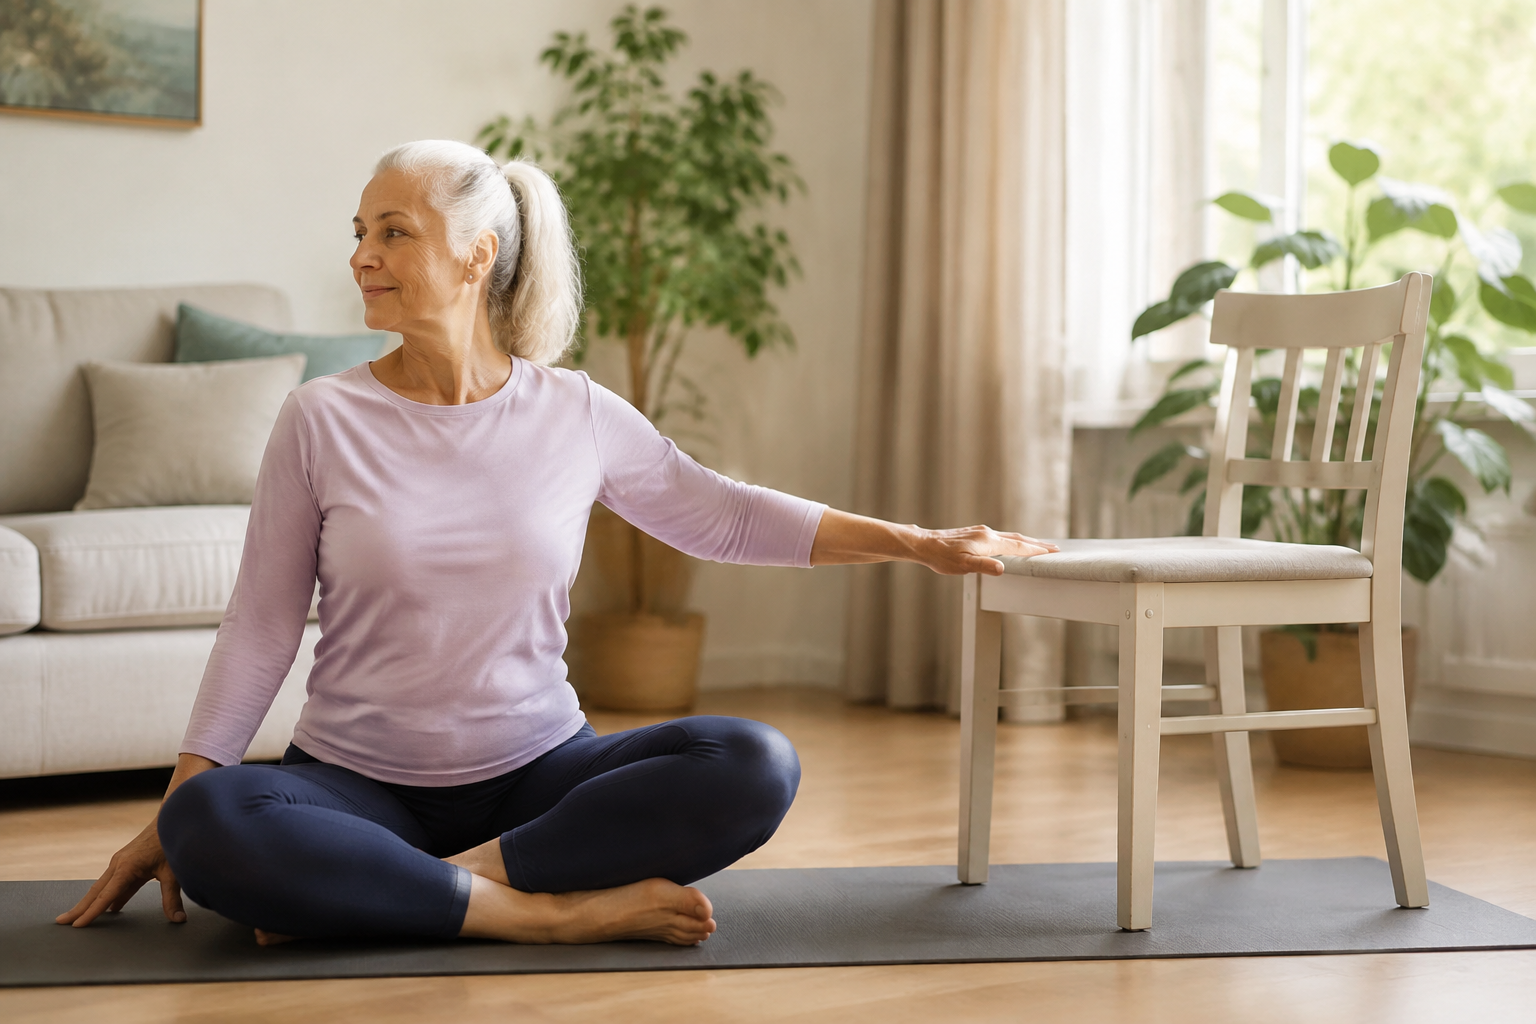
Beginner yoga poses for stiff hips at home can be a gentle way to explore comfortable movement after long periods of sitting, walking, or general inactivity. The aim is not to force your hips open or reach a dramatic-looking shape. It is to move within a range that feels steady, supported, and repeatable.
“Tight hips” is a common phrase, but it can describe many things: stiffness after sitting, muscle tension, reduced comfort in certain positions, or a joint issue that needs individual care. Yoga can be useful for calm movement and body awareness, but it is not a substitute for diagnosis or treatment when pain is persistent or significant.
For more beginner-friendly sequencing and setup, visit our main yoga for beginners guide. It is the pillar page for this topic and explains how to choose a safe pace and modify poses.
Safety before stretching
Set up a clear space with a yoga mat, carpet, or firm rug. Keep a chair, cushions, and folded towels nearby; supports are useful tools, not signs that you are doing less. Avoid forcing a knee or hip into a position that feels pinchy, sharp, numb, or unstable.
Stop and seek professional guidance for sudden severe hip pain, inability to bear weight, new numbness or weakness, a recent fall or surgery, or pain that does not settle. If you have osteoporosis, joint replacement, arthritis flare, or a known back condition, ask a clinician or physiotherapist which positions are appropriate for you.
What “gentle” should feel like
A gentle yoga pose creates mild sensation, not a struggle. You should be able to breathe normally and leave the pose without bracing. Use a range where your pelvis, knees, and lower back feel supported. You do not need to hold any pose for a fixed time. Three calm breaths may be enough.
It can help to think of this practice as mobility and relaxation rather than a flexibility challenge. The goal is to learn what feels good today and leave with more ease, not to achieve a particular depth.
Five beginner yoga poses for stiff hips
1. Constructive rest
Lie on your back with knees bent and feet on the floor about hip-width apart. Rest your arms by your sides. Place a cushion under your head if your neck prefers it. Stay for five to eight relaxed breaths. This is a useful starting position when you want to let your hips and lower back settle before moving.
2. Supported knee-to-chest
From your back, bring one knee toward your chest only as far as comfortable. Hold behind your thigh rather than pulling on your knee. Keep the other foot on the floor. Stay for three breaths, lower the leg, and switch sides. If lifting the leg is uncomfortable, slide your heel a little closer to your body instead.
3. Reclined figure four
Lie on your back with knees bent. Cross one ankle lightly over the opposite thigh, keeping the foot gently flexed. You can stay here, or draw the supporting leg a little closer if it feels comfortable. A towel behind the thigh can make it easier to reach. Do not press down on the lifted knee. Switch sides after three to five breaths.
4. Supported butterfly
Sit on a folded blanket or firm cushion with the soles of your feet together. Let your knees open only as far as they naturally do. Place cushions or blocks under the outer thighs for support. Keep your spine comfortably tall. Stay for five breaths; there is no need to fold forward.
5. Chair-supported hip shift
Stand facing a sturdy chair with both hands lightly resting on its back. Step one foot a short distance behind you, keep both feet pointing generally forward, and bend the front knee a small amount while the back heel stays down if comfortable. Return to centre and change sides. This is a gentle standing option that can feel more accessible than floor poses.
Your 15-minute routine
- Spend two minutes in constructive rest.
- Do supported knee-to-chest for three breaths per side, twice.
- Hold reclined figure four for three to five breaths per side.
- Move to supported butterfly for five slow breaths.
- Stand at a chair and do six hip shifts per side.
- Finish with a one-minute slow walk around the room.
Repeat the routine two or three times this week. If one pose does not suit you, skip it and spend a little longer in a comfortable option. Yoga is adaptable by design.
Helpful modifications
If getting to the floor is difficult: do the entire routine from a chair. Sit tall, slide one heel forward and back, lift one knee at a time, and make small hip shifts while holding the chair. If knees feel tender: use more cushions and avoid deep bends or cross-legged positions. If your back feels sensitive: keep movements small and choose the chair-supported version.
A stable chair can make the practice much more approachable. See our gentle yoga for seniors guide for more low-pressure adaptations.
Why strength still matters
Mobility can feel better when it is combined with gentle strength. Hips rely on surrounding muscles for support during walking, stairs, and standing. Add a few controlled chair squats or a light band routine on other days if that suits you. You do not need to do strength and yoga in the same session.
Balance practice can also support confidence in standing poses. Our kitchen-bench balance exercises for beginners use a nearby support and short, manageable intervals.
Common mistakes that make hip yoga less comfortable
Forcing range: deeper is not automatically better. Ignoring knee discomfort: change the position or come out. Holding your breath: shorten the pose until breathing feels easy. Comparing sides: one hip may feel different from the other; work with both sides as they are.
Build a sustainable yoga habit
Put the mat or cushion where you can see it. Try the routine after a workday, after a short walk, or before bed. Even five minutes counts. Consistent, low-pressure practice is usually more helpful than an occasional intense class.
For stress-focused sessions, explore yoga for stress relief. Pairing gentle movement with simple breathing can make it easier to shift out of a long day of sitting and screens.
Frequently asked questions
Can yoga fix stiff hips?
Yoga may help you explore comfortable movement and reduce the feeling of stiffness for some people. It cannot diagnose or correct every cause of hip pain or limited movement. Seek individual care for persistent symptoms.
How often should beginners do hip-focused yoga?
Two or three short sessions a week is a realistic start. You can do gentle movement more often if it feels good and does not increase pain.
Do I need a yoga mat?
No. A firm, non-slip surface and a few cushions are enough. Choose a setup that allows you to get up and down safely.
Choosing poses based on how you feel
Use your body’s response to guide the practice. On a day when you feel tired or sensitive, choose constructive rest, gentle knee-to-chest, and a short walk. On a day when you feel steady, include the chair-supported hip shifts and hold each comfortable position for another breath. You do not need to repeat exactly the same routine every time.
Try to avoid labelling a hip as bad or stuck. Bodies are not always symmetrical, and one side may simply prefer a different range. Work slowly on both sides, use props generously, and notice patterns over several weeks rather than judging a single session.
Yoga after sitting for a long time
After a long workday or car trip, begin with a minute of easy walking before getting on the floor. This raises your temperature slightly and gives you a chance to assess how your hips and back feel. Start with the smallest version of each pose, then choose whether more range feels appropriate. A brief practice can be enough to break up a sedentary day.
A weekly rhythm that includes strength
One simple pattern is yoga or mobility on Monday and Friday, strength on Tuesday and Saturday, walking on Wednesday, and rest or easy movement on the remaining days. Your schedule can be completely different. The important part is not placing a demanding new workout on every day. Your hips benefit from movement, strength, and recovery together.
For a gentle introduction to strength with little equipment, try our resistance band workout for adults over 40 at home. Build gradually and keep your yoga practice comfortable on the days between.
Signs to pause the routine
Stop if a pose creates sharp groin, hip, knee, or back pain, numbness, tingling, or a feeling that the joint may give way. Do not stretch through pain to release it. If discomfort is persistent, disruptive, or worsening, seek individual medical or physiotherapy guidance.
Props that make a home practice easier
You can practise with household items. A folded towel can lift your seat in butterfly pose; a firm cushion can support your head or thighs; a sturdy chair can replace a block; and a wall can provide a steady point of contact. Avoid using unstable furniture or soft pillows that make you feel less balanced. The purpose of a prop is to bring the floor closer and reduce strain.
Wear clothing that lets you bend and sit comfortably. A room-temperature space and a few uninterrupted minutes are enough. You do not need special yoga clothes, music, or equipment to benefit from a quiet mobility practice.
Notice practical changes over time
Rather than judging whether a pose looks deeper, notice everyday markers. It may become easier to put on socks, step into a car, stand after sitting, or take a comfortable walk. Those changes are more relevant than reaching a certain shape on a mat. Keep the pace gentle and let comfort be your guide.
Next step
Try constructive rest and one supported pose today. Start with comfort, then let the routine build slowly from there.
Leave a Reply